Monday 12 December 2011

Christmas is HERE!

Well here at My Old House we got in the Christmas spirit this past weekend. Getting in the Christmas spirit always starts in the same way. Hubby: "Let's get a Christmas Tree" Me: "Oooh Yes! A nice big bushy one with lots of lovely branches" Hubby: "No. Nothing too big" (picks out spindly little tree) Me: (makes unhappy face) "How about this one instead" (pulls out ridiculously big tree) repeat over and over again for 30 minutes.  You get the idea.

However, it always ends well and we have another lovely tree this year and I've added few extra touches to the front and dining room to make it appear a bit more festive.

Our tree (with presents already wrapped) and the small decoration in the dining room 

 Close up of the dining room decoration

My mantlepiece masterpiece in the living room

A bit closer in

 Avery dark shot of the view from the kitchen


As we're hosting this year we have been in a bit of a blind panic to get the house ready and get everything ready to have a lovely perfect Christmas. Now we weren't successful in getting carpet in (the man just laughed at me), but we have a fully working bathroom AND two new lovely armchairs to for people to sit in plus a rug in the living room. Wonders never cease! So happy with these!!!

Here they are in the room:

Each chair close up

Bring on Santa!

The final result (or the 99.9% result)

Well I promised you the finished product and here you go. Or at least as finished as we have it at the moment. The eagle eyes amongst you will notice that the bath panel is still missing. That is currently up with the lovely F-I-L being lovingly painted so we can install them hopefully in about a week...well before everyone descends for Christmas at any rate. You'll also notice that we have left the walls white.  After much debating and colour swatching (I think I own the entire sample pot range in creams and pale yellows from Farrow & Ball now) we still haven't come up with a decision. Although the most tempting is just to go with the leave it white suggestion from a friend. Too clinical? Let me know what you think!!


 Oh the choices....still haven't decied.
We still need to put some storage in as well for all our shampoos and assorted lotions and potions, but have found it so just need to make the purchase!

Ps. Having awoken to a scratching/rattling noise the other night I am now complete supporter of keeping the toilet lid down. Apparently some animal (exact type) unknown somehow got up the soil pipe into our toilet and was stuck. This has been attested to by my dear husband who went to investigate and saw the lid bouncing up and down. His gallant response....hit the flush which seemed to send the little critter whoever he may be back down the way he came. Don't know what it was, but making darn sure that lid is down from now on. Word to the wise.

So What Else Have We Been Doing

So if you have figured us out by now you will know that re-doing your bathroom doesn't really get in the way of trying to sort our a million and one other things. One of those things was our bedroom. Now that we have painted almost all of the other rooms in the house with lovely Farrow & Ball colours our pale blue in the bedroom just didn't feel quite right. Plus we've had the bare prison bulb dangling from our ceiling for quite some time. What does all that add up to??? Paint brushes at the ready!

Our bedroom over time:
The horror show when we moved in (how can anyone forget this award winning combination)

The first colour we painted it


The new light fixture and a shot of the new wall colour
 Another view of the new colour. It's lovely.
I'm so happy with this, especially when you look back to how it looked when we moved in.

Catching up on the progress part 1

I have now been reunited with my camera which means that I can FINALLY update everyone on the fabulous progress on our bathroom. We are so pleased with it. Here are the latest pics:
The tiling starts (the builders don't hate us yet)
 Getting there (builders definitely starting to hate us for choosing the pattern)
 And the bath as well aren't you lucky builders!

The tiling is complete!!!!! 

We are so amazed at the different between the first photo and the last in terms of light and space. I know that a lot of this will be down to us reinstating the sash window (big thanks to Keith for making this for us), but it just shows you the difference the right kind of tiles in a space can make. Some final results pictures in a following post with all the rest of the lovely bits and pieces in.

Tuesday 29 November 2011

Thanksgiving Cheer

It's not everyday that you look at something in a magazine and think "You know what. I bet I could do that". Well in this case that is exactly what my mother did and then promptly lost the page from Southern Living with the idea and instructions on it.  A short trip with Google sorted this problem out, but it still left the need for the actual decorations to be created. That's where I came in.

Here is the task I was given. To create two lovely floral centerpieces for the Thanksgiving table using nothing, but a pumpkin and an awl to get the job done. Here's Southern Livings' Version:

Now let me say this. Firstly, unlike their recipes it's a good thing that this didn't say how long it would take because let me say it takes AGES. Secondly, an awl (aka ice pick)?! You've got to be kidding me. You can't fit anything in the hole left behind. Out came a big screw and the rubber mallet (it still took a long time). Oh and if you get really fussy like me you're going to need a lot of flowers. All that aside it was really fun and I'm really pleased with how they turned out. Here's my attempt.

I'd highly suggest giving this a go and definitely go with the instruction to put them in the fridge to keep the flowers fresh. Here are the steps in case you want to do it yourself. The nice thing as well is you can do any colors or color combination you want so it's really flexible.

Steps:
1. Buy small/medium soft skin pumpkin(s)
2. Use a screw (medium sized) and rubber mallet to create holes. Holding pumpkin tap screw gently into pumpkin to make the hole. Make sure not to miss and crunch the pumpkin.
3. Fill pumpking with holes. These will need to be fairly close together unless you use large headed flowers if you don't want much pumpkin show through. You won't need to do the bottom as it needs something firm to sit on.
4. Cut blossoms off flowers with a short length of stem. It's best to cut it a little longer than you think and then trim as needed.
5. Cover pumpkin with flowers and then put on suitable stand or even directly on the table to display.

Enjoy!

Sunday 2 October 2011

A beautiful Indian Summer

Right now the UK is in the grips of a beautiful Indian Summer. At least that is what the news is calling it. I prefer to think of it as our summer weather just being REALLY late. Aside from having a few last BBQs and spending time outside we spent this weekend getting the garden sorted out for when the weather does decide to take a turn for the worse. We've harvested the carrots, made some new flower beds, planted the blackberry vine we've been training and lots of other little odd jobs.

The best part of this sunny lovely warm weather is that our tomato plants are still really going for it. Just holding out that we have a few more weeks before the first frost! Here are some pictures of how the garden is not that it's settled in.

The carrot harvest (1.799kgs!!) 
The new flower bed

Two new fall bushes and the blackberry vine


Two big fall roses!


Looking back up towards the house!

The end of week two

Just following on from the previous post here is how the bathroom is looking at the end of the builder's Saturday shift. It does feel a bit mean to have them here on Saturday when we're having a glorious Indian Summer, but at least we can finally start to see things take shape.

The shower has its special blue waterproof sealant painted and the first of the mosaic tiles for the tray are going in!

And over the bath the wall tiles are going in. We can't wait to see the finished product, but we think it looks great.

 Last and not least here is our new traditional style towel radiator. The last one we had was very modern and it was impossible to get towels on. So all around pretty much twelve shades of useless. Can't wait to see the progress we make next week and if the shower gets delivered!


The first signs of progress

Well we're two weeks down in the great bathroom re-do part two. Since it's been hard to get the time to put up these posts here are some pictures of where we were half way through the first week. The walls have been patched and plastered and the insulations is about to go in under the floor.

 Re-doing your bathroom always makes you happy for the small things. We may not have a shower, tub or sink, but at least we have a toilet! It doesn't quite have a working flush,but this hook up is not too bad.

Here's next big step (sorry that it's blurry)  with the floor tiles going in!! So excited to see it start to take shape.


Monday 19 September 2011

The final assault begins

Ok well those of you who are friends with me on Facebook will know that today was Day 1 of Bathroom round 2. Very exciting! This is the LAST major building work planned to get the house how we want it.  It also means that we are one big step closer to finishing the house for the end of the year.

Now some of you will remember that we had our bathroom redone a while ago when the kitchen was being done (http://aoldhouse.blogspot.com/2009/06/real-destruction-begins.html). But this episode of bathroom renovation taught us many things including:

  • Black is not a good color for tiles, especially in a hard water area
  • There is a special kind of wood you are supposed to use on bathroom floors (marine ply for those of you interested)
and most importantly:
  • YOU GET WHAT YOU PAY FOR
So having not paid very much it wasn't entirely surprising when the shower started to leak and stain the kitchen ceiling and the floor tiles started to crack in half due to the water soaking into the ply ad swelling. Joy joy joy!

So older, wiser and with some money in our pocket (but not for long) we've got back in the lovely builders that we used for the last major works. They were really great so we thought why not! 

Today is Day 1 = Destruction Day. I left to a bathroom fully intact and without a care in the world and have come home to this:


All of our furniture is crammed in the front room!


This is why I love that my husband is an engineer. He can draw things like this and they look like they are supposed to!


This is the final look we have taken as our inspiration. So lots more light and just brightening up the whole space.


Let us know what you think and I'll try to update this every day there is decent progress.

Monday 29 August 2011

The kind of after staircase

As promised here are the mid after photos of the stairs. I say mid-after because carpet is going to be a while coming, especially because it will be all of 3 weeks and the builders are back in to fix the bathroom. Exciting times!!

In the meantime here are the shots of a fully white stairs.


Now you may be wondering what we are going to do with the space under the stairs. Don't worry we have a cunning plan...to be revealed shortly!


The garden update (late summer)

I know this makes a lot of posts all going up in one day, but I'm feeling industrious and there is a lot to show! We've definitely been busy this summer.

The garden has now had plenty of time to settle in and we're pretty pleased to say that almost 99% of everything has survived. The only casualties so far are a daisy bush that didn't like the severe pruning I gave it while follow instructions and the geraniums. I'm not sure if it's slugs or what, but one day they were lovely and green with lots of flowers and the next day...bare stalks. Anyone have any insight? I've not seen lots of snails/slugs around, but that doesn't mean they don't go for it while I'm not around.

The biggest successes are definitely the roses and the tomoatoes. They are going for it! We're also trying to see if we can get the wild blackberry vine to root so we can train it along the fence and enjoy lots of lovely berries next summer.

Here is our more mature garden. Now I've just got to start figuring out what to do as the weather turns colder. Once again tips and hints gladly received just comment below.

Some baby strawberries. We didn't get many, but they were very tasty!
 The cherry tree in all its glory (unfortunately not edible cherries)
 The vegetable patch going strong
 A nice shot of the bed plants
 Plus a couple of shots of the tomatoes. 


Storage storage every where

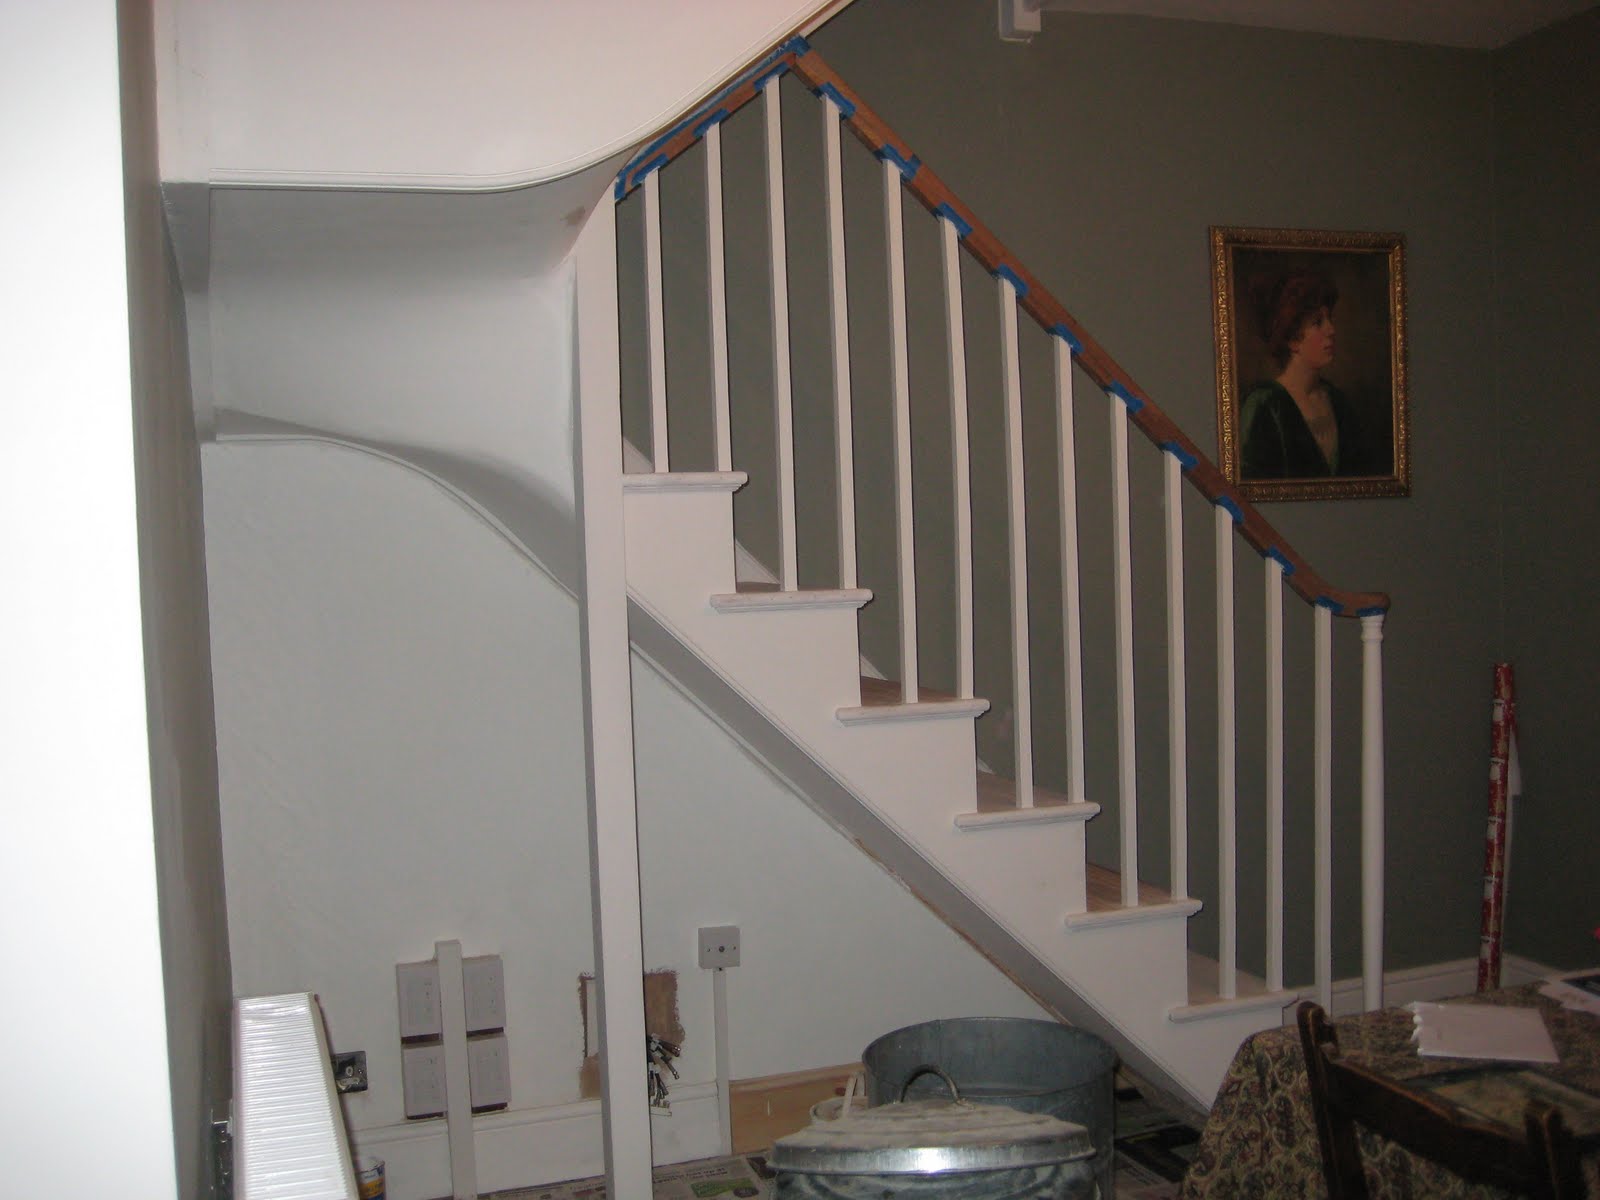
When we were living in our first flat, which incidentally is the same size as our current garden, we found out that storage was key. In a country that seems to view closets as some sort of social pariah you've got to get inventive. After all, there are really only so many chests of drawers and wardrobes you can have before you start to look like an overcrowded furniture showroom.

With this in mind we contemplated one of the last great challenges in the dining room. Really it was the only thing that was letting the room down. The hollowed out chimney breast. It was large with not very straight sides and we were desperate for a place to hide the mop, broom, etc etc etc.

The original idea was something out of gothic novels with a wall made to look like a fireplace where the entire thing would swing open. Definitely cool, but seriously heavy and expensive. When we were told that our idea would cost roughly £10,000 due to all the structural work it was time for a rethink.

In the end we took the principals of the original idea and scaled it down with the builders only putting up a frame of MDF so we had at least some right angles and straight walls to work from. Plus it is a lot easier to screw into that than ancient brick...believe me we've tried.

We're pretty pleased especially when we were able to find some hand carved corbels that almost match the living room fireplace exactly. In the end it made a nice feature and gave us storage and function. It's not quite done as we need to make some glass doors for the top, but we're pretty pleased. Thoughts?

Ready to go thanks to the builders
 A nice side profile shot
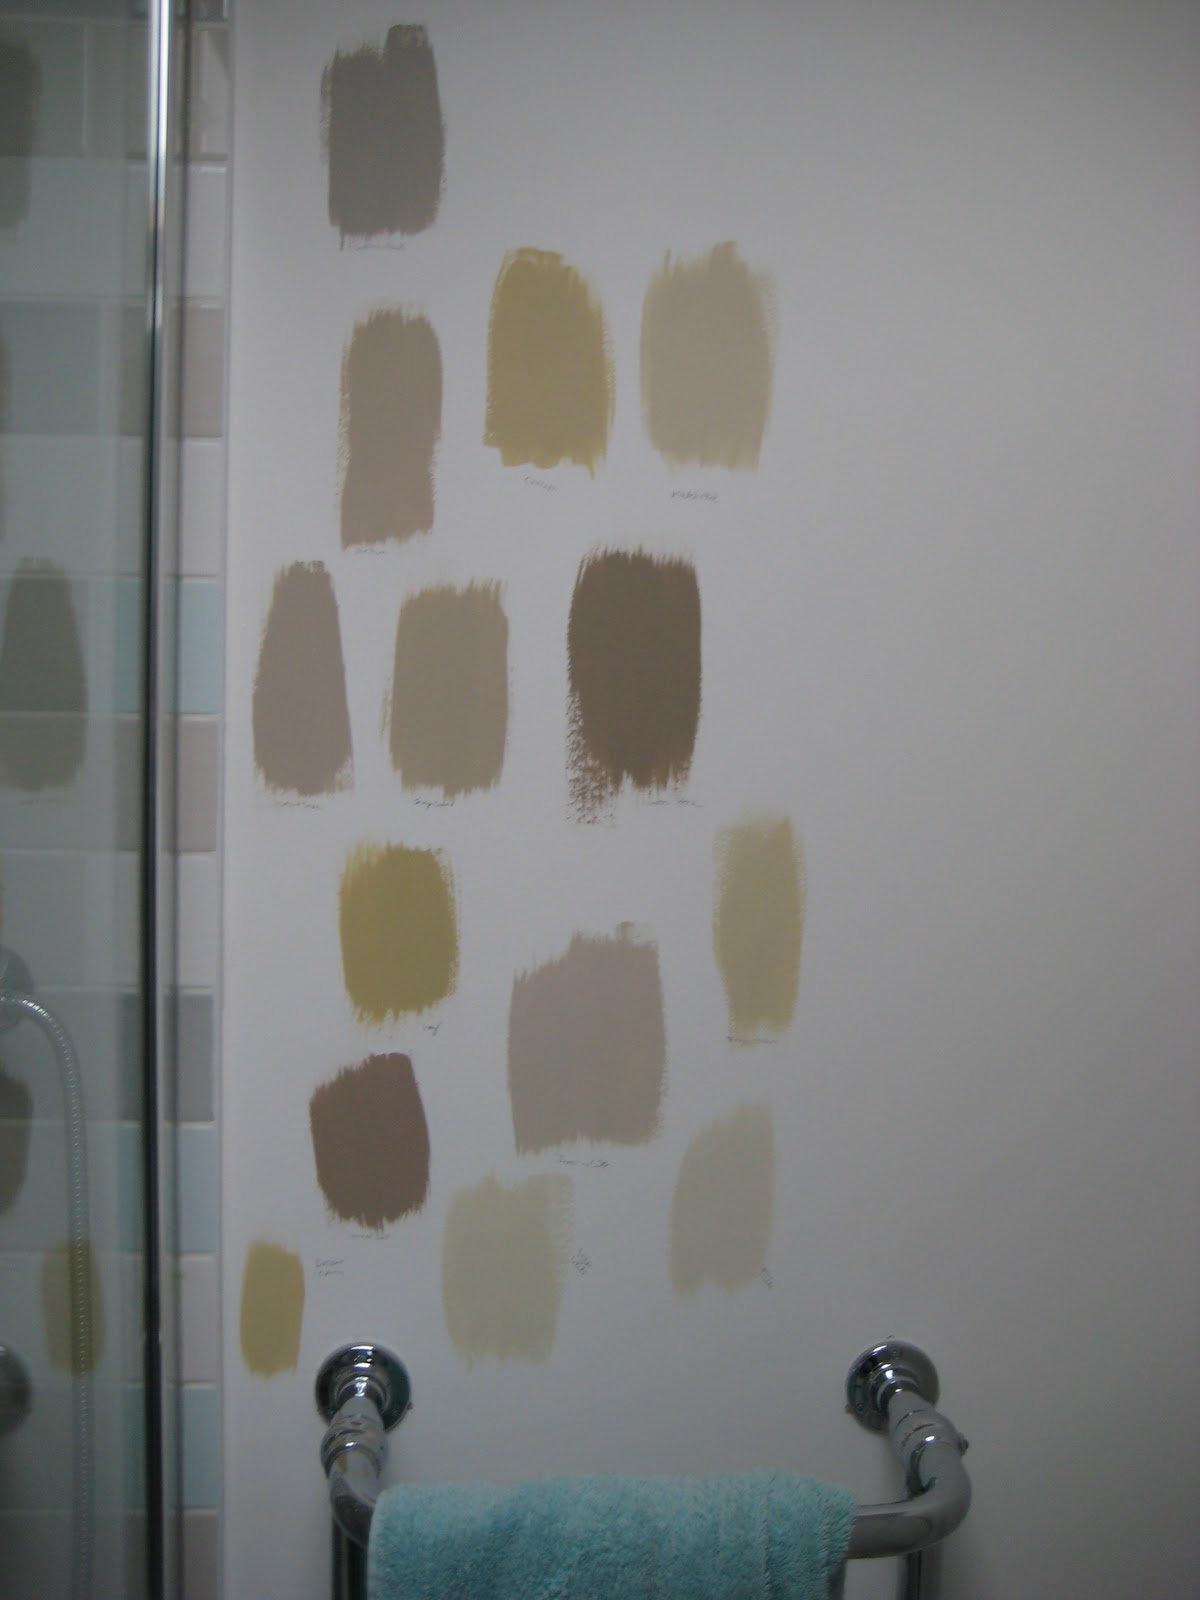
 Step one..paint (we were still trying to decide what to do here)
 All decided and frame in...no door and more paint needed
 The lovely door is in.....looking spiffy
 Lots of storage inside
 The almost finished article with shelves in on top