Monday, 29 August 2011

The garden update part 1 (Early Summer)

The garden has obviously been the big focus of the summer here. In fact we made the decision to put up with not having a fully functioning bathroom for four extra months so we could get it finished. The last post saw the veg patch only going in and a bunch of dirt in the middle.

The turf is now in and thriving, as are the vegetables. We have made a strategic decision and replanted to tomatoes closer to the house so they get more sun. It appears to be the right decision because they are growing like weeds and have tons of little yellow flowers, which will eventually turn into yummy little tomoatoes. Can't wait!

Plus we've gone further with putting in some nice plants that aren't edible because after all what's a garden without a bit of color? We've put in roses, clemantis, hydrangeas, lavender and lots of other plans. Here are some pics.


 This is proof why you should never listen to the people who say "Wait five weeks before cutting your turn for the first time". Totally out of control!!!


Sunday, 29 May 2011

The Garden

Well I can only apologise again for another huge gap in the blog posting. That doesn't mean that we haven't been doing anything, just that my camera has broken so I don't have any lovely photos to upload and show off!

So that was before I got an iPad for my birthday from my Wonderful husband. This means that I can now take photos again with the iPad,but just have to work out how to upload them without having to email em to myself first. Hmmm...suggestions gratefully accepted.

Anyways the big exciting news is that complete death trap that is our backyard is now more like a garden. By more like a garden I mean that there are no longer random pits and the whole thing isn't covered in gravel anymore. We had them lay a new patio and a new hard standing in the back for when we get a new shed. We also had them sieve and level the rest of the garden.

So just a reminder of what it looked like when we moved in.

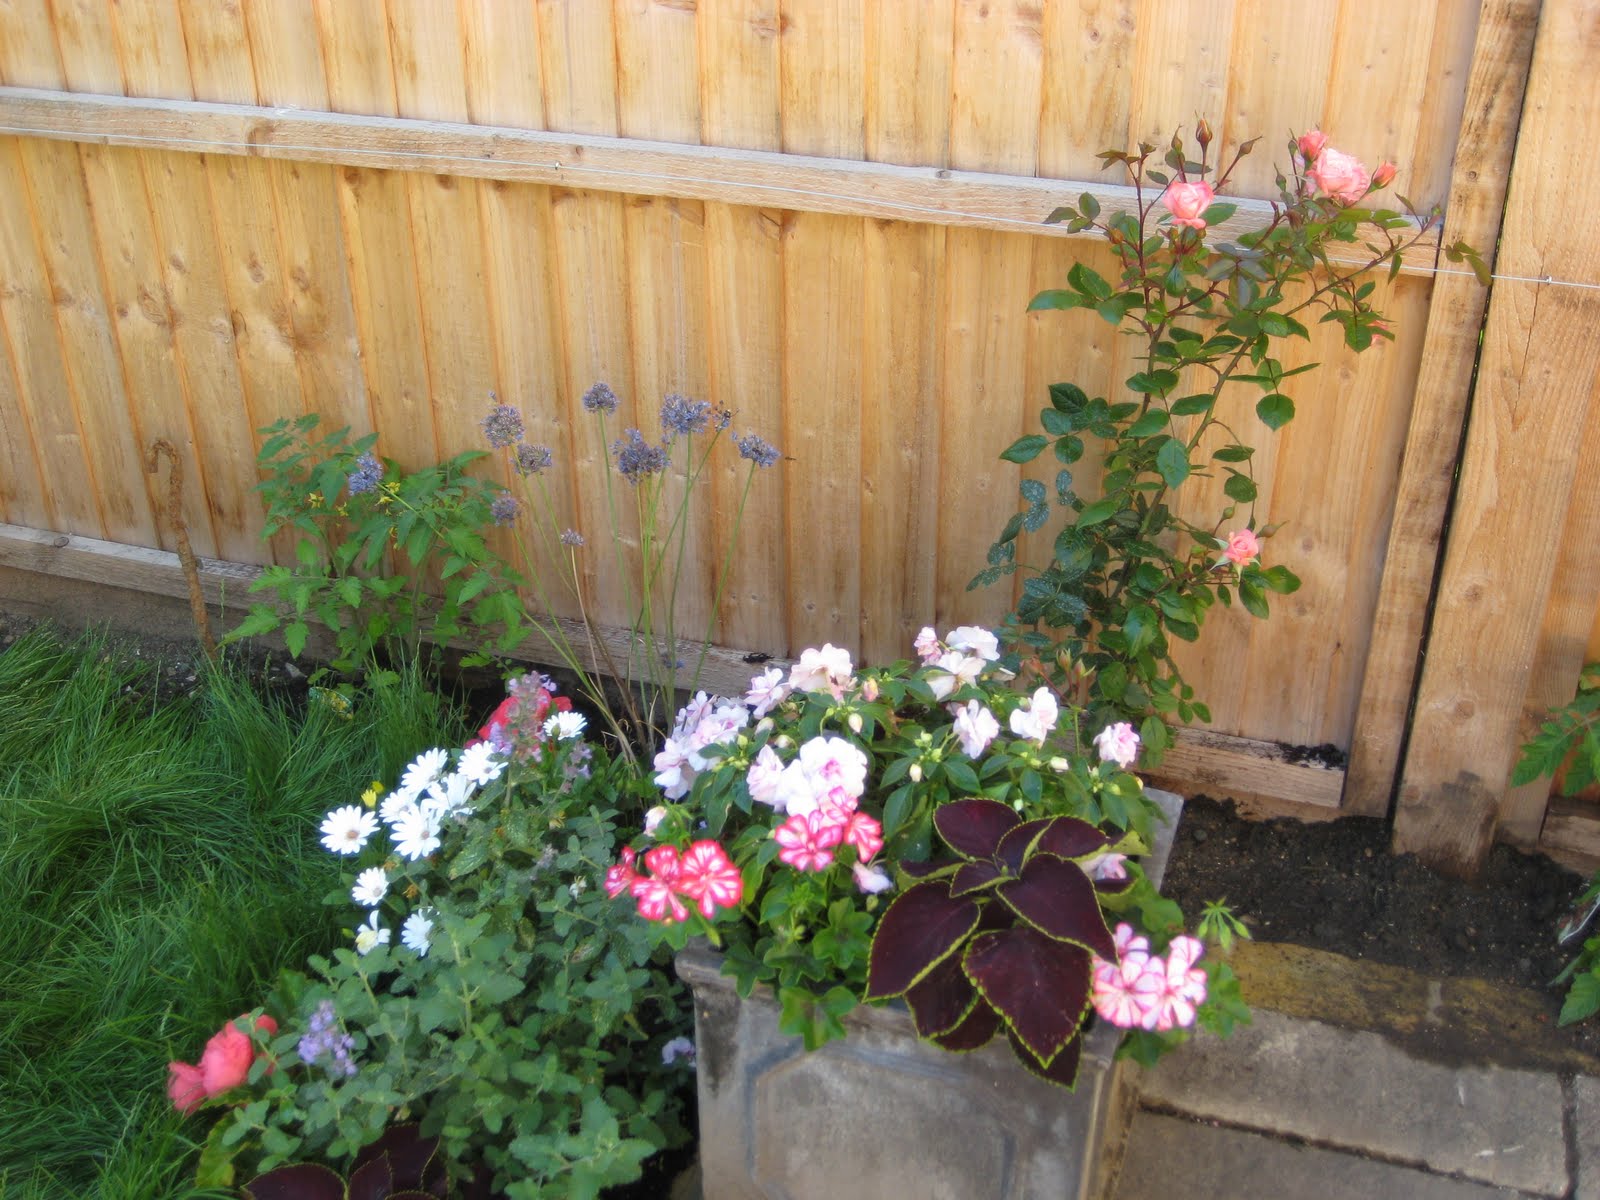
Here's what it looks like now:


The patch in the back has got vegetables and herbs. We'll see if anything grows. Trying out tomatoes, carrots, parsnips and strawberries. We also bought an apple tree and are getting a cherry tree as well. Not bad for a small city garden I would say. The turf comes middle of this week so will put more pictures on soon!!

Sunday, 20 March 2011

The dining room chimney

The last major piece of colored wall that I don't think I've put up yet is the chimney in the dining room. As you can see from the unpainted photo below it's more of an opening than a working chimney. Not letting that slow us down or get in the way we went for a nice bold green paint (green smoke farrow & ball). It will eventually be turned into a cupboard for boring things like ironing boards and mops, but we still think it looks pretty good as it is.


The stairs are 99% done

Well the to do list seems to never get any smaller, but we have had some major progress. The most painful job in history is almost done. We have two more coats of oil on the handrail and then the stairs are finished!!!

Here's another handy tip for future renovators. Pay someone to paint your staircase for you. It is by far the most frustrating, slow and tedious job you'll ever do. The most difficult part is that you have to find a way to get all the edges and bits done while still using it as a stairway. Not the easiest task believe me....especially when you need to put on at least 4 coats of pain.

 Anyways here are some pictures showing before and during photos.

 Before

 During 1
 During 2

Bathroom step stained to match the rest of the floors

After photos will have to wait until I fix a technical error with my camera lense!

Oh and despite the above grumbling and the sheer amount of time it took we are really happy with the results.

Sunday, 20 February 2011

Things you never thought you'd do

Now anyone who has ever taken on a home renovation project will know that no matter what size it is there is stuff you expect to have to do and stuff that you never do, but end up doing anyways. Ironing my kitchen floor definitely falls into the second camp.
 
Despite knowing that the floor boards in the kitchen are quite soft (i.e. bruise like a peach) and that stilettos don't mix with wood floors I threw caution to the wind last night. So after a good half hour of tramping back and forth making dinner I happened to look down to find my floor looking like someone had taken a meat tenderizer to it. EEK! All that hard work down the drain....

So once I stopped hyperventilating about the floor I did what all girls in such a situation would do. I picked up my phone and called for help (in this case my Father-in-law). Now his mystical yoda like master furniture maker friend had told him some story about how to get dents out of wood. Here was the perfect chance to test this out. The solution...iron the wood.

You are probably pretty sceptical, but let me explain the mechanics. Take one iron and put it on really hot and steam. While heating up take a piece of thin cotton (I used a napkin) and get it pretty wet, but not dripping. Spread cloth flat over dent and use prepped iron to iron the piece of cloth. Now when the hot iron hits the cloth it will hiss quite a lot and force out steam. This steam works into the dented fibers of the wood and expands them..et voila no dents.

Was I sceptical? Yes. Did it work? Pretty well, but can still see some dents. I think next time though I'll just take my shoes off.

Sunday, 13 February 2011

Storage begins to appear

So now that most of the big stuff is done we're starting to work on putting together all of our storage. Believe me it's needed!! Only problem is with a house as old as ours you have to build everything bespoke (think no square corners) and it takes twice as long. Here are some photos of the shelving going into the living room. Can't wait till they are finished!!!
Stage 1
 Stage 2


Almost finished!! Now for some shelves

The kitchen floor

Well not the most imaginative title ever, but quite nice all the same. Tells you exactly what you're going to get in this post. More whittering on about the kitchen floor. Now you may not remember that many months ago when the kitchen we finished I spent hours staining them. The only problem was that the perfectionist that I married wasn't quite happy with the color and when we started finishing all the rest of the wood floors he decided these had to be redone to match. 

Now grumble I did because I knew exactly who would be spending back breaking hours crouched on their hands and knees doing this task and all I could see was acres of bare wood. Still for marital bliss and knowing that I was going to lose the argument anyways I agreed. So in came the sander and off came the stain.  We've now used the same stain as the rest of the downstairs and are actually much happier with the result. Because the product we used actually sinks into the wood you get a nice dark color without loosing the wood grain.  

I hate it when he's right. ;) Here are some photos:

 
 The bare wood post-sanding


Our Skadinavian Chic kitchen (temporarily)

 The stained wood pre-varnish


The final product!