Tuesday, 29 November 2011

Thanksgiving Cheer

It's not everyday that you look at something in a magazine and think "You know what. I bet I could do that". Well in this case that is exactly what my mother did and then promptly lost the page from Southern Living with the idea and instructions on it.  A short trip with Google sorted this problem out, but it still left the need for the actual decorations to be created. That's where I came in.

Here is the task I was given. To create two lovely floral centerpieces for the Thanksgiving table using nothing, but a pumpkin and an awl to get the job done. Here's Southern Livings' Version:

Now let me say this. Firstly, unlike their recipes it's a good thing that this didn't say how long it would take because let me say it takes AGES. Secondly, an awl (aka ice pick)?! You've got to be kidding me. You can't fit anything in the hole left behind. Out came a big screw and the rubber mallet (it still took a long time). Oh and if you get really fussy like me you're going to need a lot of flowers. All that aside it was really fun and I'm really pleased with how they turned out. Here's my attempt.

I'd highly suggest giving this a go and definitely go with the instruction to put them in the fridge to keep the flowers fresh. Here are the steps in case you want to do it yourself. The nice thing as well is you can do any colors or color combination you want so it's really flexible.

Steps:
1. Buy small/medium soft skin pumpkin(s)
2. Use a screw (medium sized) and rubber mallet to create holes. Holding pumpkin tap screw gently into pumpkin to make the hole. Make sure not to miss and crunch the pumpkin.
3. Fill pumpking with holes. These will need to be fairly close together unless you use large headed flowers if you don't want much pumpkin show through. You won't need to do the bottom as it needs something firm to sit on.
4. Cut blossoms off flowers with a short length of stem. It's best to cut it a little longer than you think and then trim as needed.
5. Cover pumpkin with flowers and then put on suitable stand or even directly on the table to display.

Enjoy!

Sunday, 2 October 2011

A beautiful Indian Summer

Right now the UK is in the grips of a beautiful Indian Summer. At least that is what the news is calling it. I prefer to think of it as our summer weather just being REALLY late. Aside from having a few last BBQs and spending time outside we spent this weekend getting the garden sorted out for when the weather does decide to take a turn for the worse. We've harvested the carrots, made some new flower beds, planted the blackberry vine we've been training and lots of other little odd jobs.

The best part of this sunny lovely warm weather is that our tomato plants are still really going for it. Just holding out that we have a few more weeks before the first frost! Here are some pictures of how the garden is not that it's settled in.

The carrot harvest (1.799kgs!!) 
The new flower bed

Two new fall bushes and the blackberry vine


Two big fall roses!


Looking back up towards the house!

The end of week two

Just following on from the previous post here is how the bathroom is looking at the end of the builder's Saturday shift. It does feel a bit mean to have them here on Saturday when we're having a glorious Indian Summer, but at least we can finally start to see things take shape.

The shower has its special blue waterproof sealant painted and the first of the mosaic tiles for the tray are going in!

And over the bath the wall tiles are going in. We can't wait to see the finished product, but we think it looks great.

 Last and not least here is our new traditional style towel radiator. The last one we had was very modern and it was impossible to get towels on. So all around pretty much twelve shades of useless. Can't wait to see the progress we make next week and if the shower gets delivered!


The first signs of progress

Well we're two weeks down in the great bathroom re-do part two. Since it's been hard to get the time to put up these posts here are some pictures of where we were half way through the first week. The walls have been patched and plastered and the insulations is about to go in under the floor.

 Re-doing your bathroom always makes you happy for the small things. We may not have a shower, tub or sink, but at least we have a toilet! It doesn't quite have a working flush,but this hook up is not too bad.

Here's next big step (sorry that it's blurry)  with the floor tiles going in!! So excited to see it start to take shape.


Monday, 19 September 2011

The final assault begins

Ok well those of you who are friends with me on Facebook will know that today was Day 1 of Bathroom round 2. Very exciting! This is the LAST major building work planned to get the house how we want it.  It also means that we are one big step closer to finishing the house for the end of the year.

Now some of you will remember that we had our bathroom redone a while ago when the kitchen was being done (http://aoldhouse.blogspot.com/2009/06/real-destruction-begins.html). But this episode of bathroom renovation taught us many things including:

  • Black is not a good color for tiles, especially in a hard water area
  • There is a special kind of wood you are supposed to use on bathroom floors (marine ply for those of you interested)
and most importantly:
  • YOU GET WHAT YOU PAY FOR
So having not paid very much it wasn't entirely surprising when the shower started to leak and stain the kitchen ceiling and the floor tiles started to crack in half due to the water soaking into the ply ad swelling. Joy joy joy!

So older, wiser and with some money in our pocket (but not for long) we've got back in the lovely builders that we used for the last major works. They were really great so we thought why not! 

Today is Day 1 = Destruction Day. I left to a bathroom fully intact and without a care in the world and have come home to this:


All of our furniture is crammed in the front room!


This is why I love that my husband is an engineer. He can draw things like this and they look like they are supposed to!


This is the final look we have taken as our inspiration. So lots more light and just brightening up the whole space.


Let us know what you think and I'll try to update this every day there is decent progress.

Monday, 29 August 2011

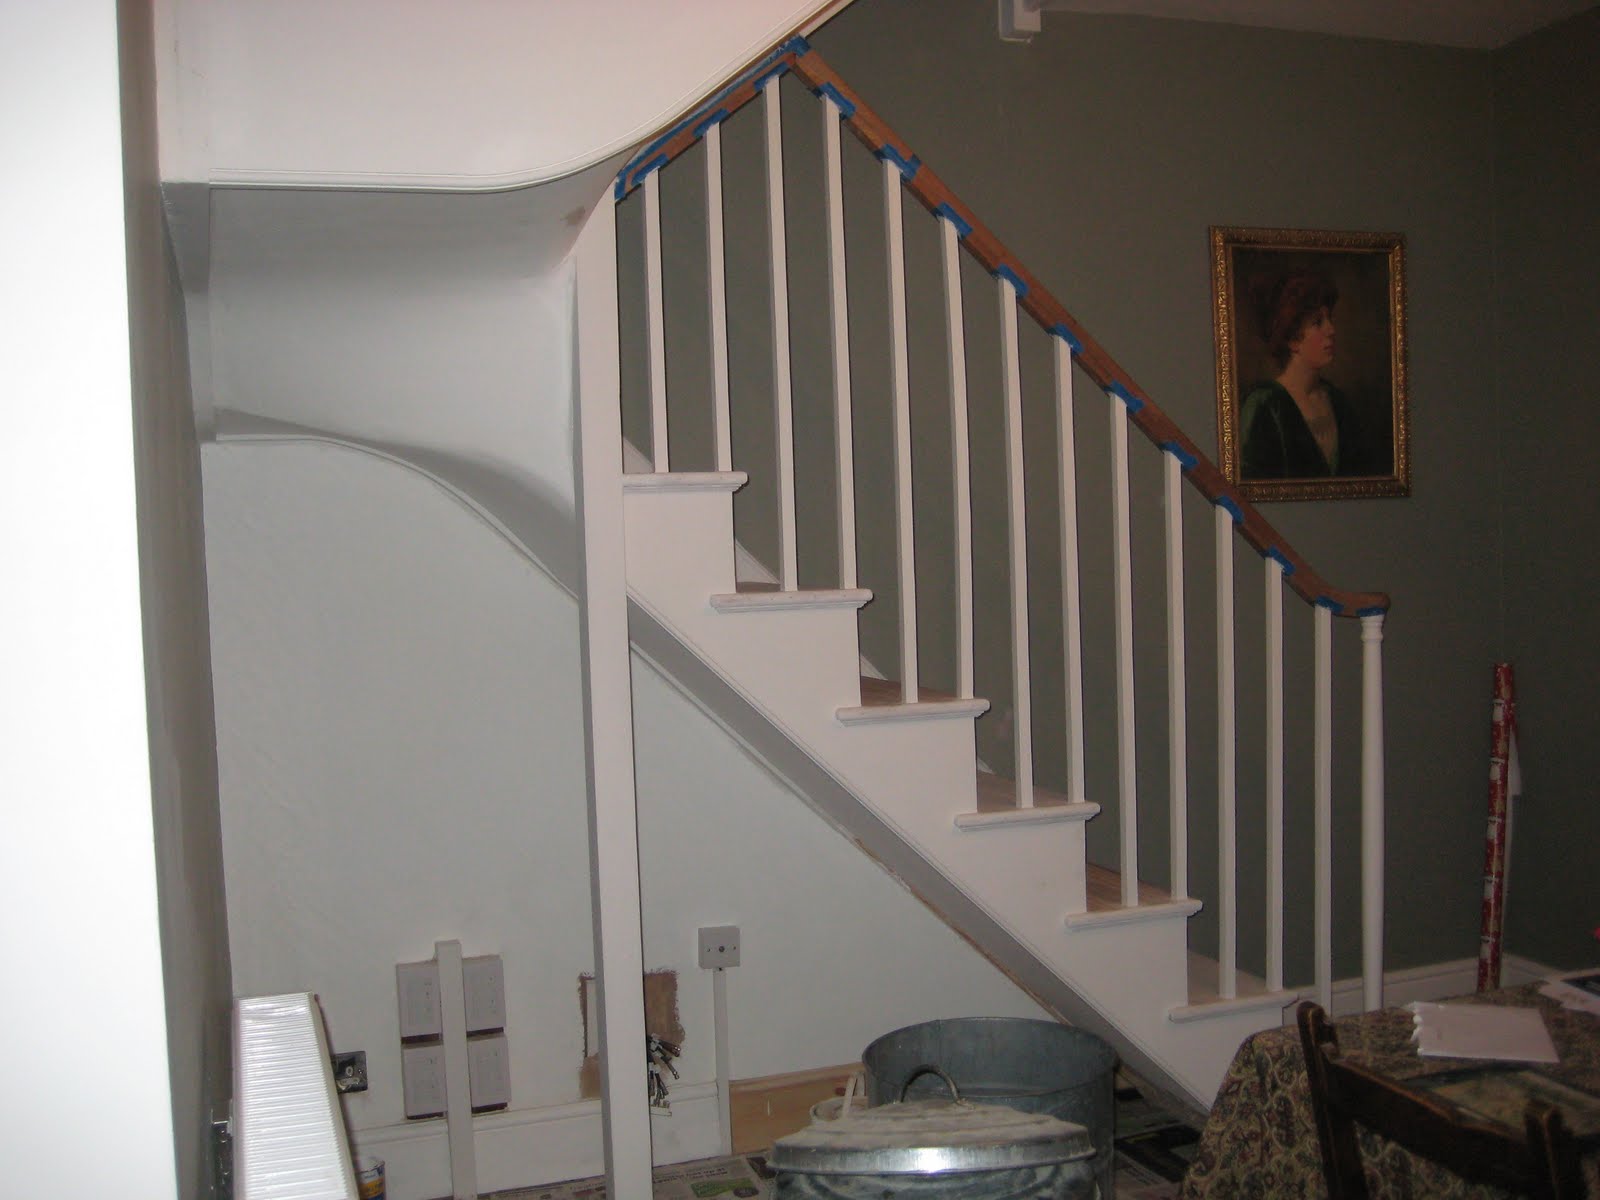
The kind of after staircase

As promised here are the mid after photos of the stairs. I say mid-after because carpet is going to be a while coming, especially because it will be all of 3 weeks and the builders are back in to fix the bathroom. Exciting times!!

In the meantime here are the shots of a fully white stairs.


Now you may be wondering what we are going to do with the space under the stairs. Don't worry we have a cunning plan...to be revealed shortly!


The garden update (late summer)

I know this makes a lot of posts all going up in one day, but I'm feeling industrious and there is a lot to show! We've definitely been busy this summer.

The garden has now had plenty of time to settle in and we're pretty pleased to say that almost 99% of everything has survived. The only casualties so far are a daisy bush that didn't like the severe pruning I gave it while follow instructions and the geraniums. I'm not sure if it's slugs or what, but one day they were lovely and green with lots of flowers and the next day...bare stalks. Anyone have any insight? I've not seen lots of snails/slugs around, but that doesn't mean they don't go for it while I'm not around.

The biggest successes are definitely the roses and the tomoatoes. They are going for it! We're also trying to see if we can get the wild blackberry vine to root so we can train it along the fence and enjoy lots of lovely berries next summer.

Here is our more mature garden. Now I've just got to start figuring out what to do as the weather turns colder. Once again tips and hints gladly received just comment below.

Some baby strawberries. We didn't get many, but they were very tasty!
 The cherry tree in all its glory (unfortunately not edible cherries)
 The vegetable patch going strong
 A nice shot of the bed plants
 Plus a couple of shots of the tomatoes.